Quick start
Go from a new account to your first recording in a few steps.
This guide walks you through the shortest path to a working setup.
Before you begin
- A computer on the same network as your IP cameras (for the desktop app).
- At least one ONVIF-compatible or RTSP-capable camera.
Step 1 — Create your account
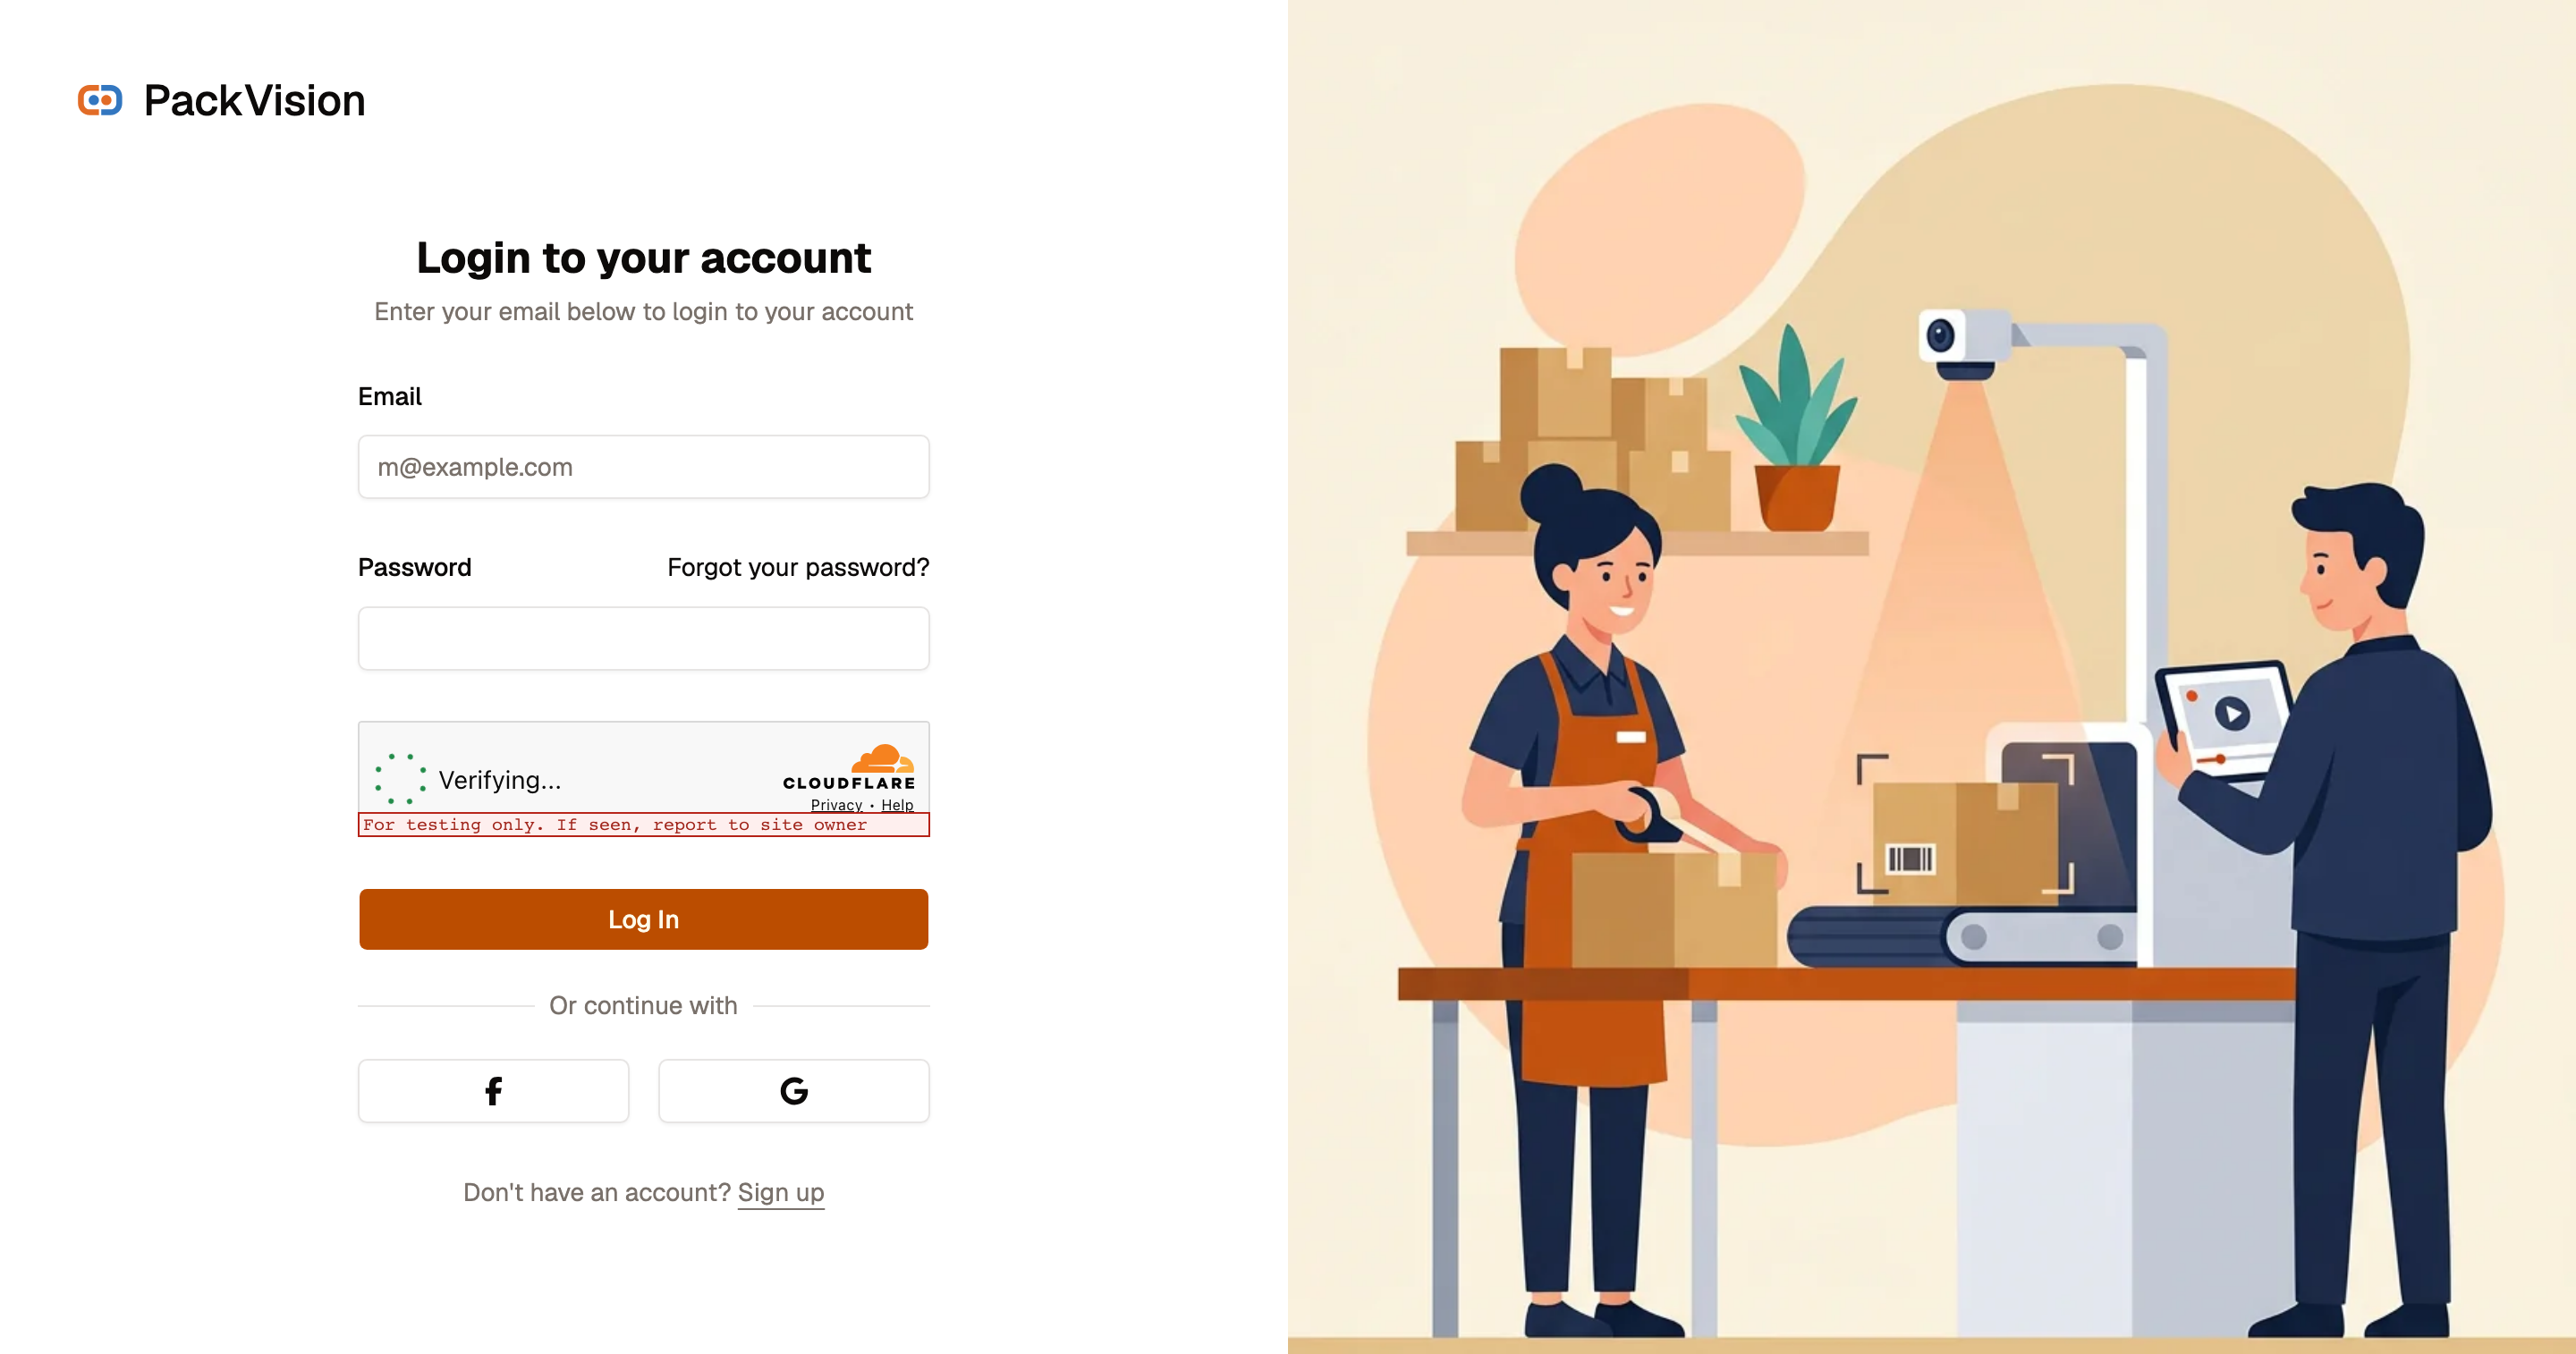
- Open the dashboard and select Sign up.
- Enter your display name, email, and a password of at least 8 characters.
- Complete the Cloudflare Turnstile check and submit.
Verify your email
A 6-digit code is sent to your email. Enter it on the Verify email screen. You can resend the code after a 60-second countdown.
Step 2 — Check your organization
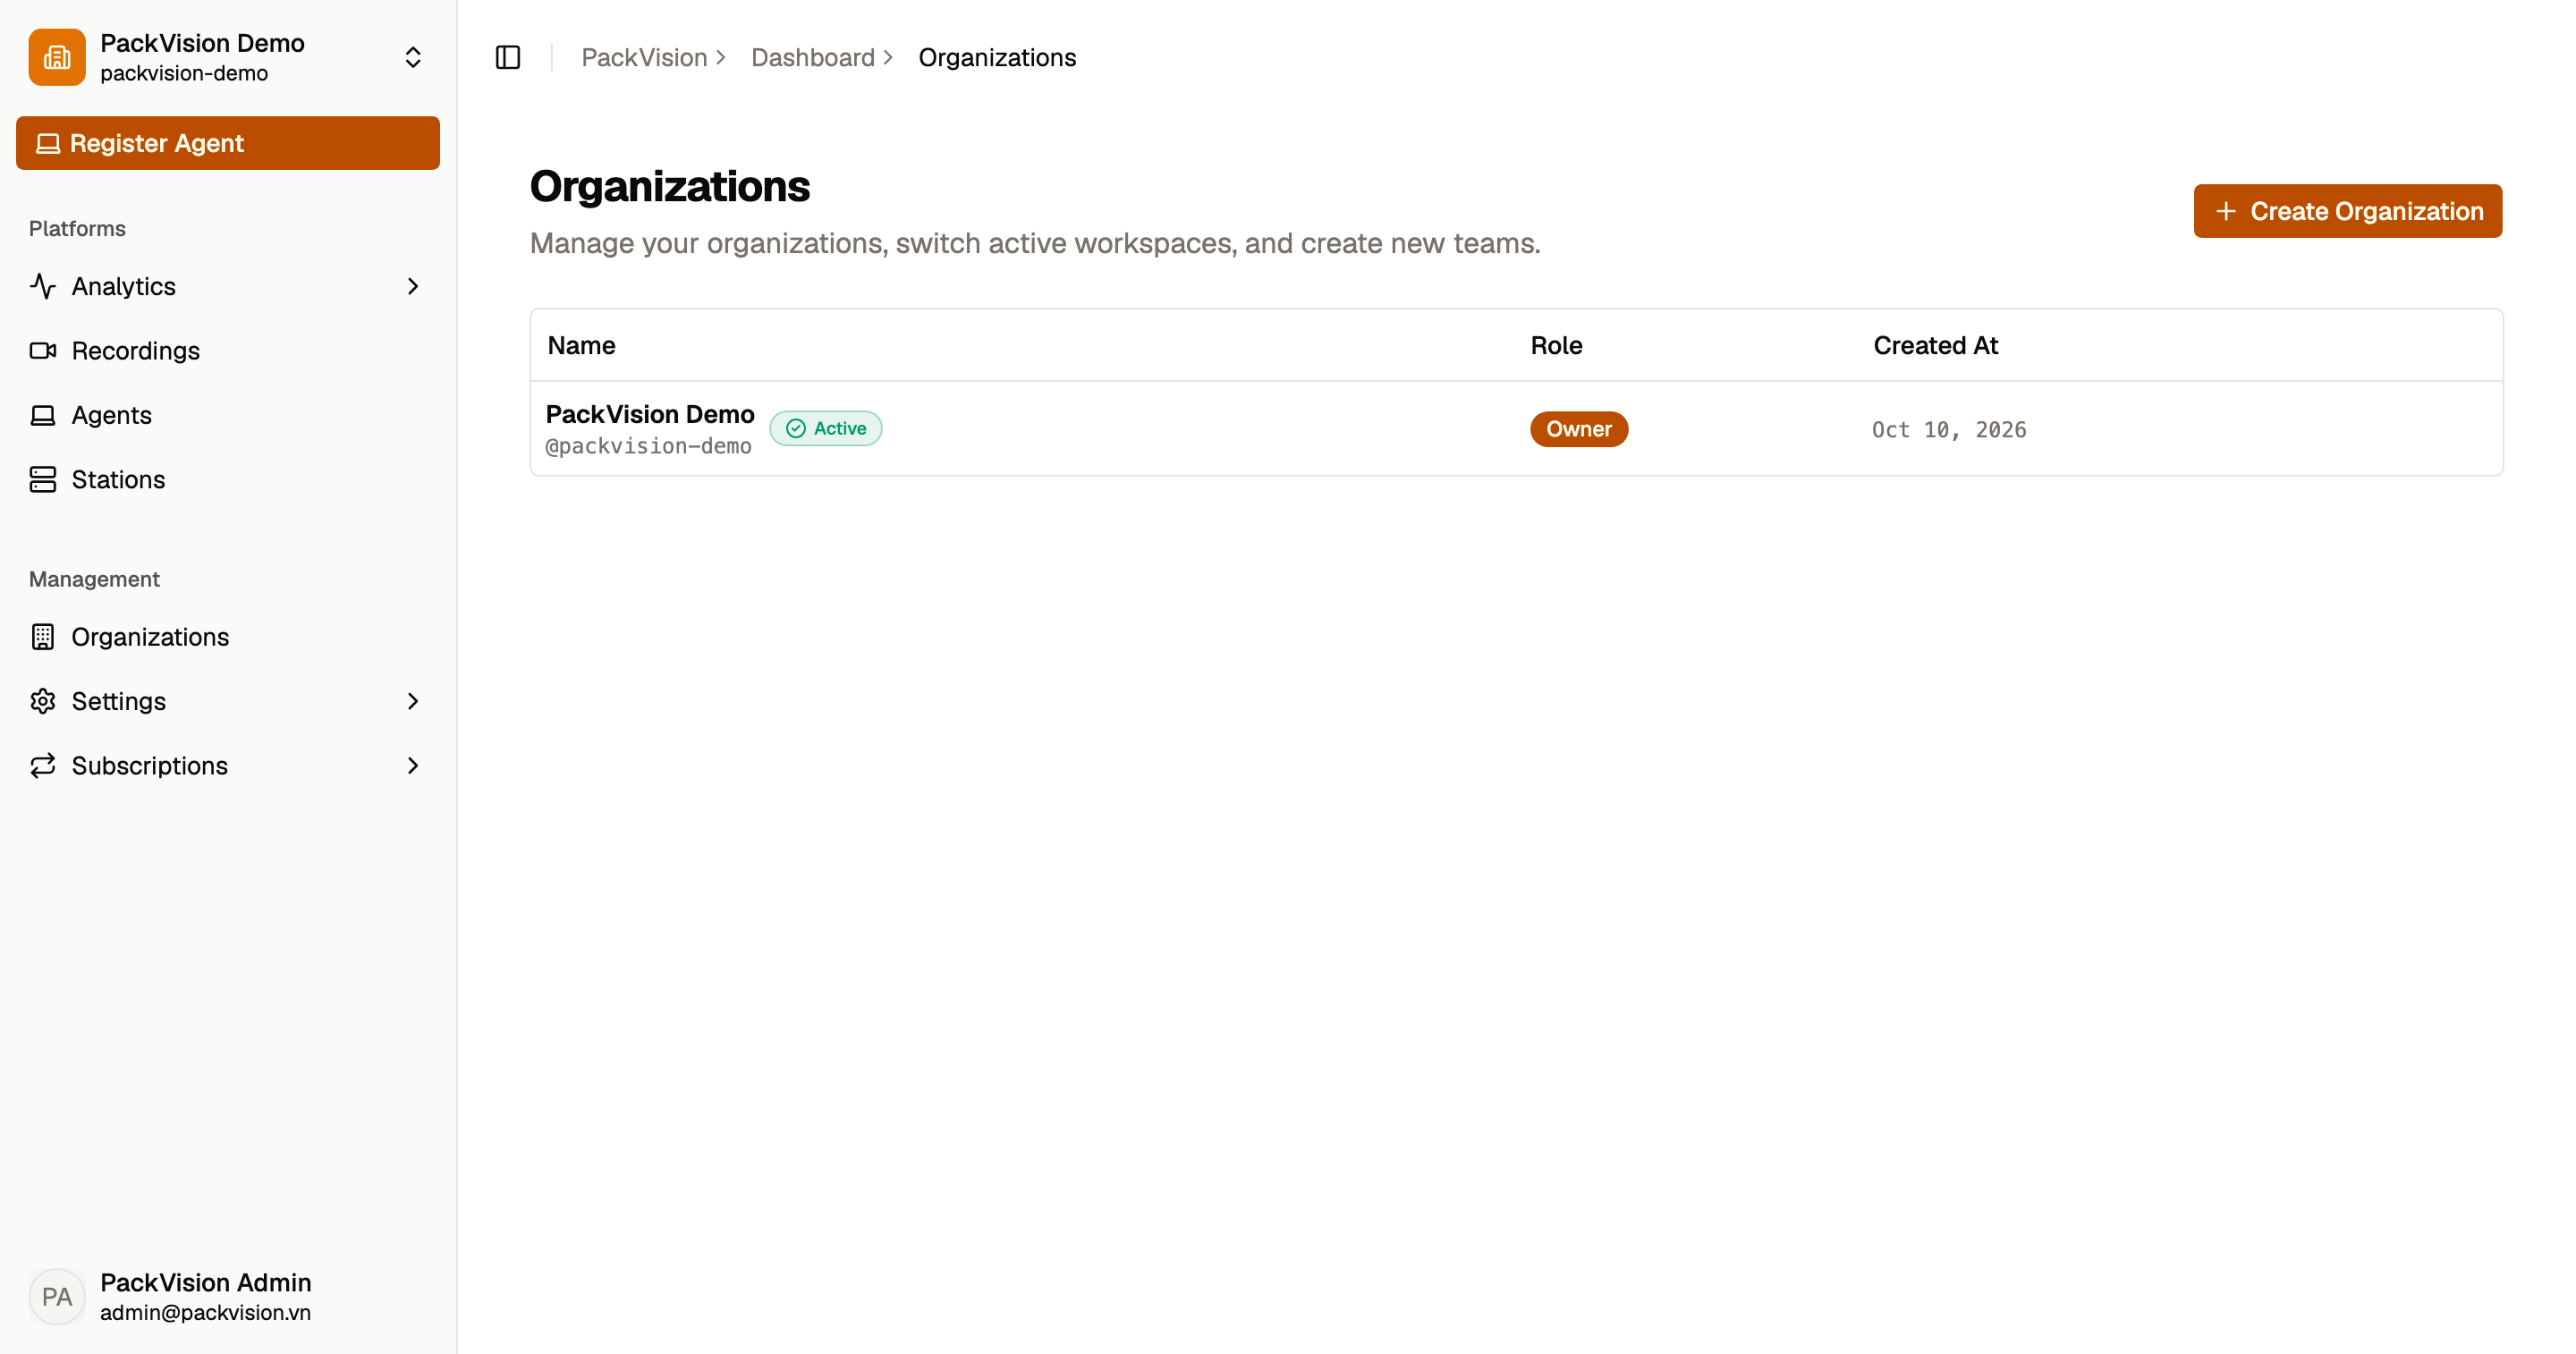
After signing in, a personal organization is created for you automatically. You can start using it right away or go to Organizations to customize its name, change its URL slug, or create additional organizations.
Every action is organization-scoped
Agents, members, and subscriptions all belong to an organization. Make sure the correct organization is selected in the sidebar switcher before you continue.
Step 3 — Activate a subscription
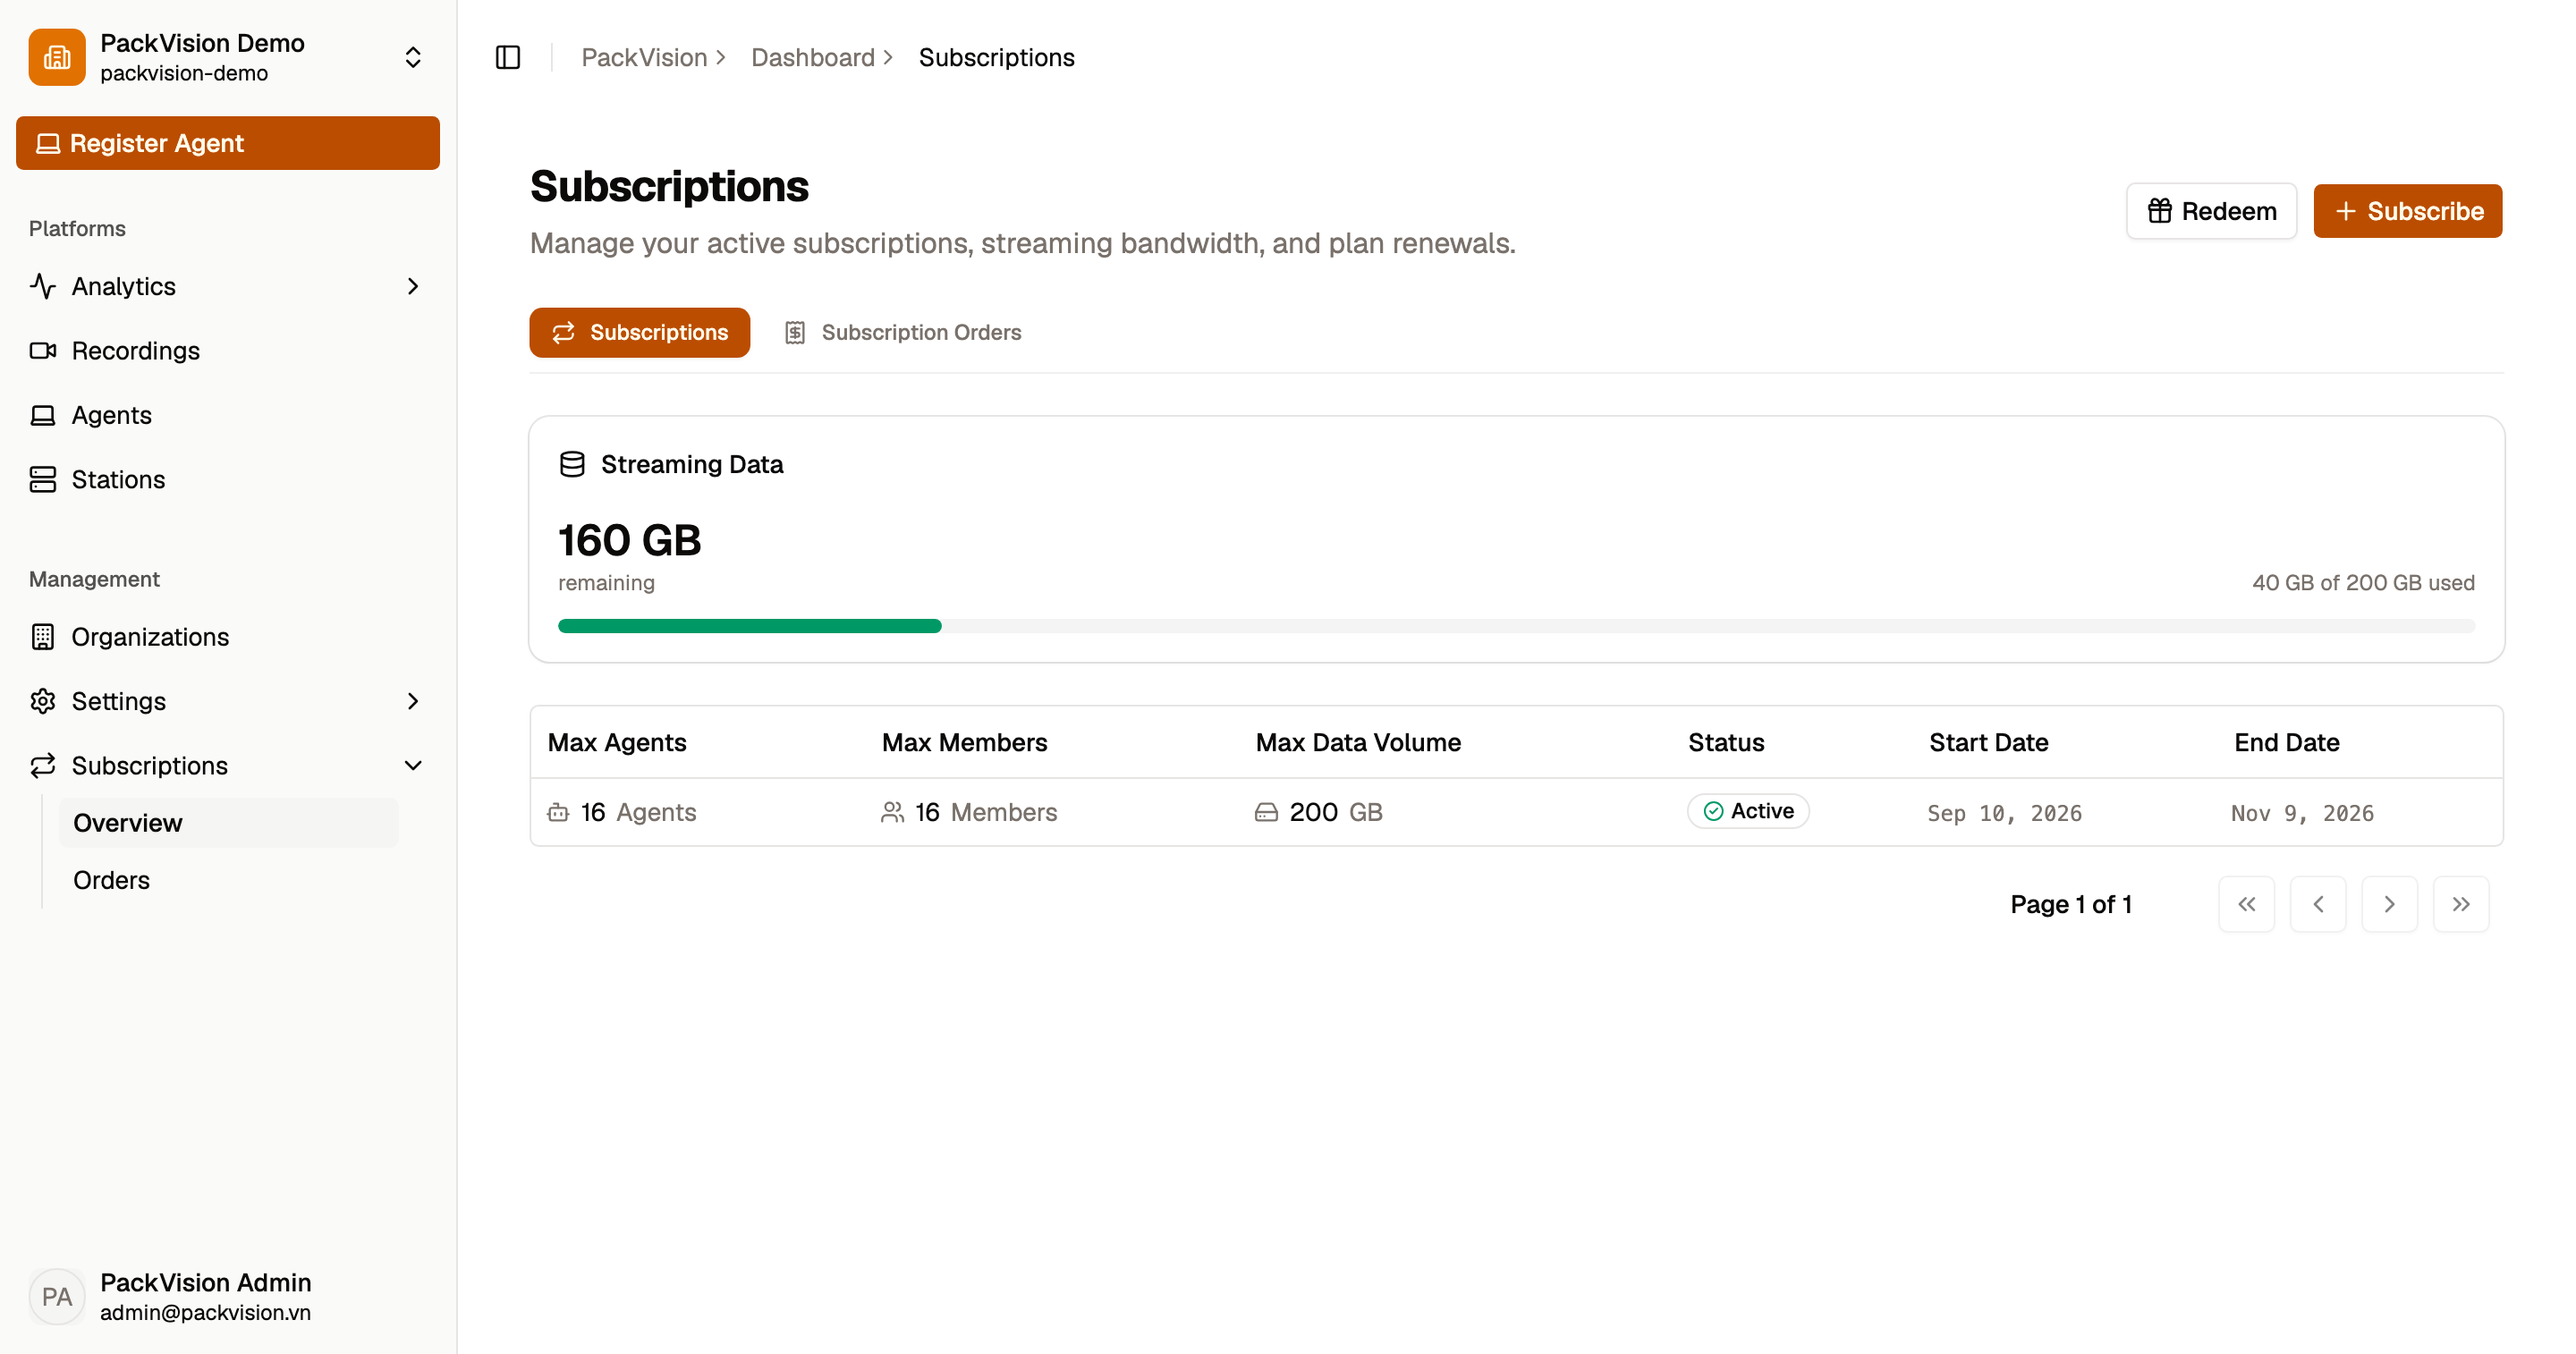
Some actions require an active subscription. Go to Subscriptions → Subscribe, choose your limits (every active plan requires a minimum of 1 agent), and complete payment. If you received a code, use Redeem code instead.
See Subscriptions for details.
Step 4 — Install and connect a device
- Download the desktop app from Downloads.
- Open the app and go to the Connect screen.
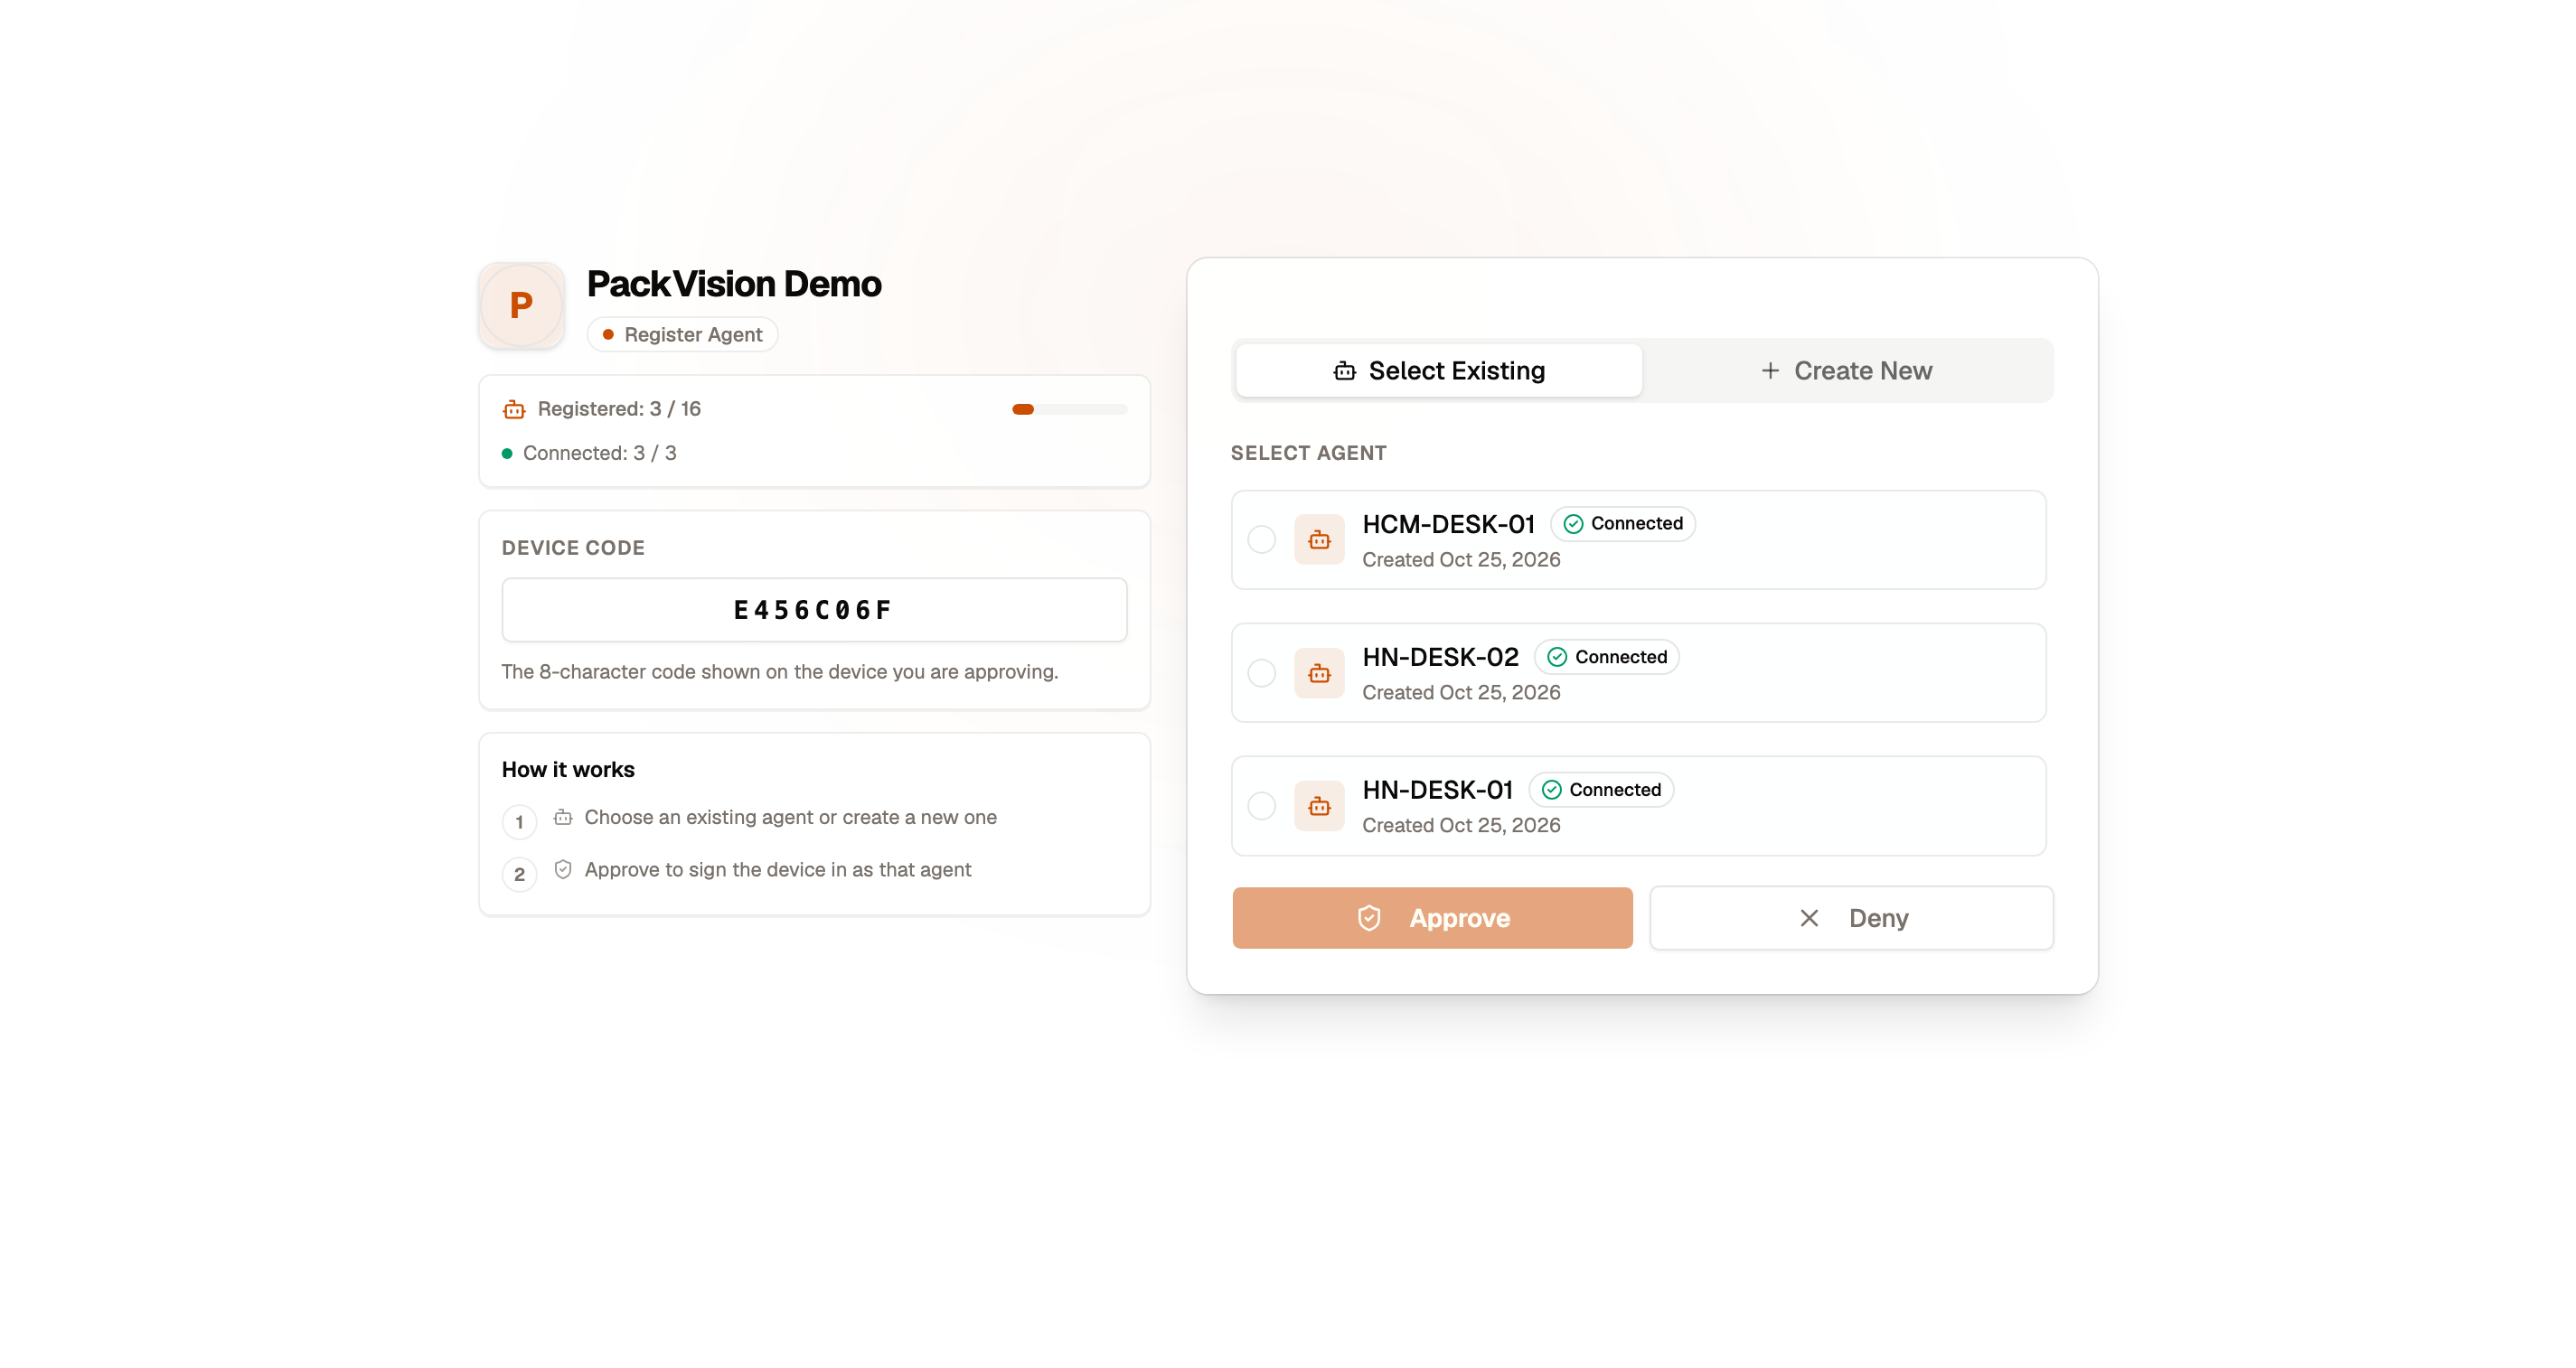
- Copy the device code shown on screen.
- In the dashboard, open Register agent, enter the device code, and approve.
- The app connects automatically once approved.
Full steps: Connect a device.
Step 5 — Add a camera
- In the desktop app, open the station and choose Bind camera.
- Use Discovery to find ONVIF cameras, or enter the RTSP details manually.
- Select Verify to confirm the connection, then save.
Full steps: Cameras.
Step 6 — Start recording and review
- Start the stream from the station or the live view.
- Pass a package barcode in front of the camera.
- Open Recordings in the dashboard to play, download, persist to cloud storage, verify tamper-proof evidence codes, or manage the session.
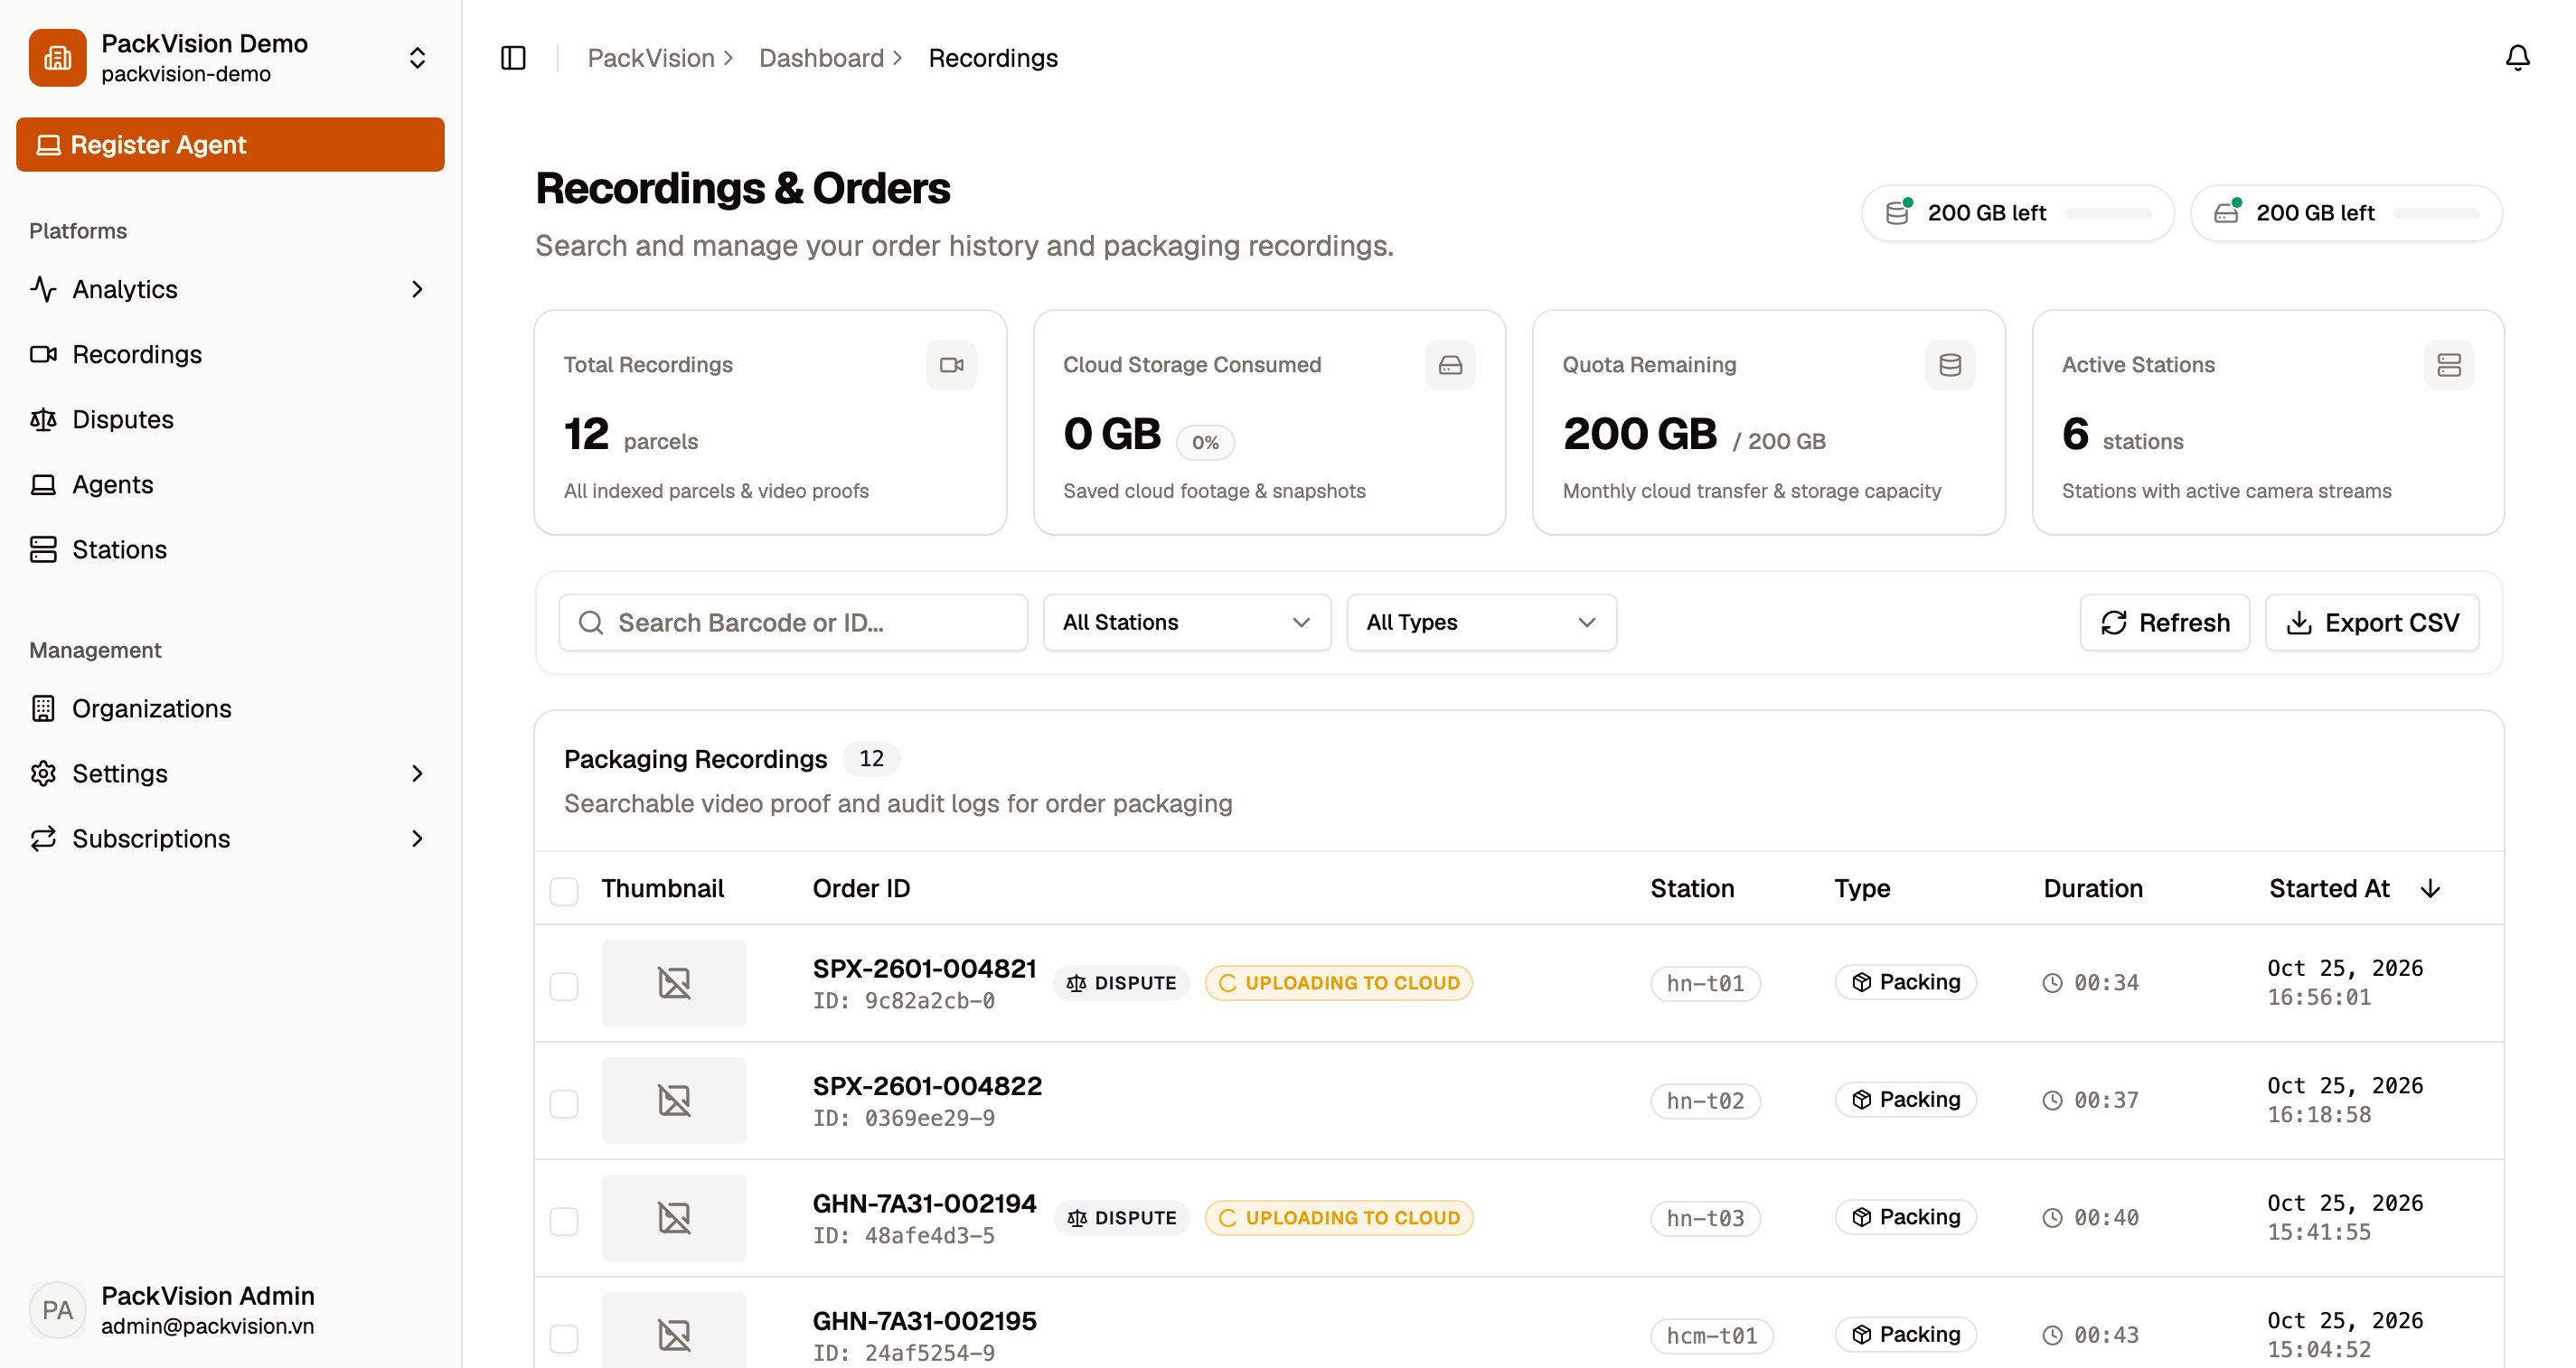
Video stays local by default
Recording writes continuous segments to the station's local disk. The dashboard can stream it back on demand or persist selected clips directly to durable cloud storage when needed for long-term retention or disputes.
What's next
- Tune storage and retention in Desktop app settings.
- Invite your team.
- Learn the glossary if any term is unfamiliar.